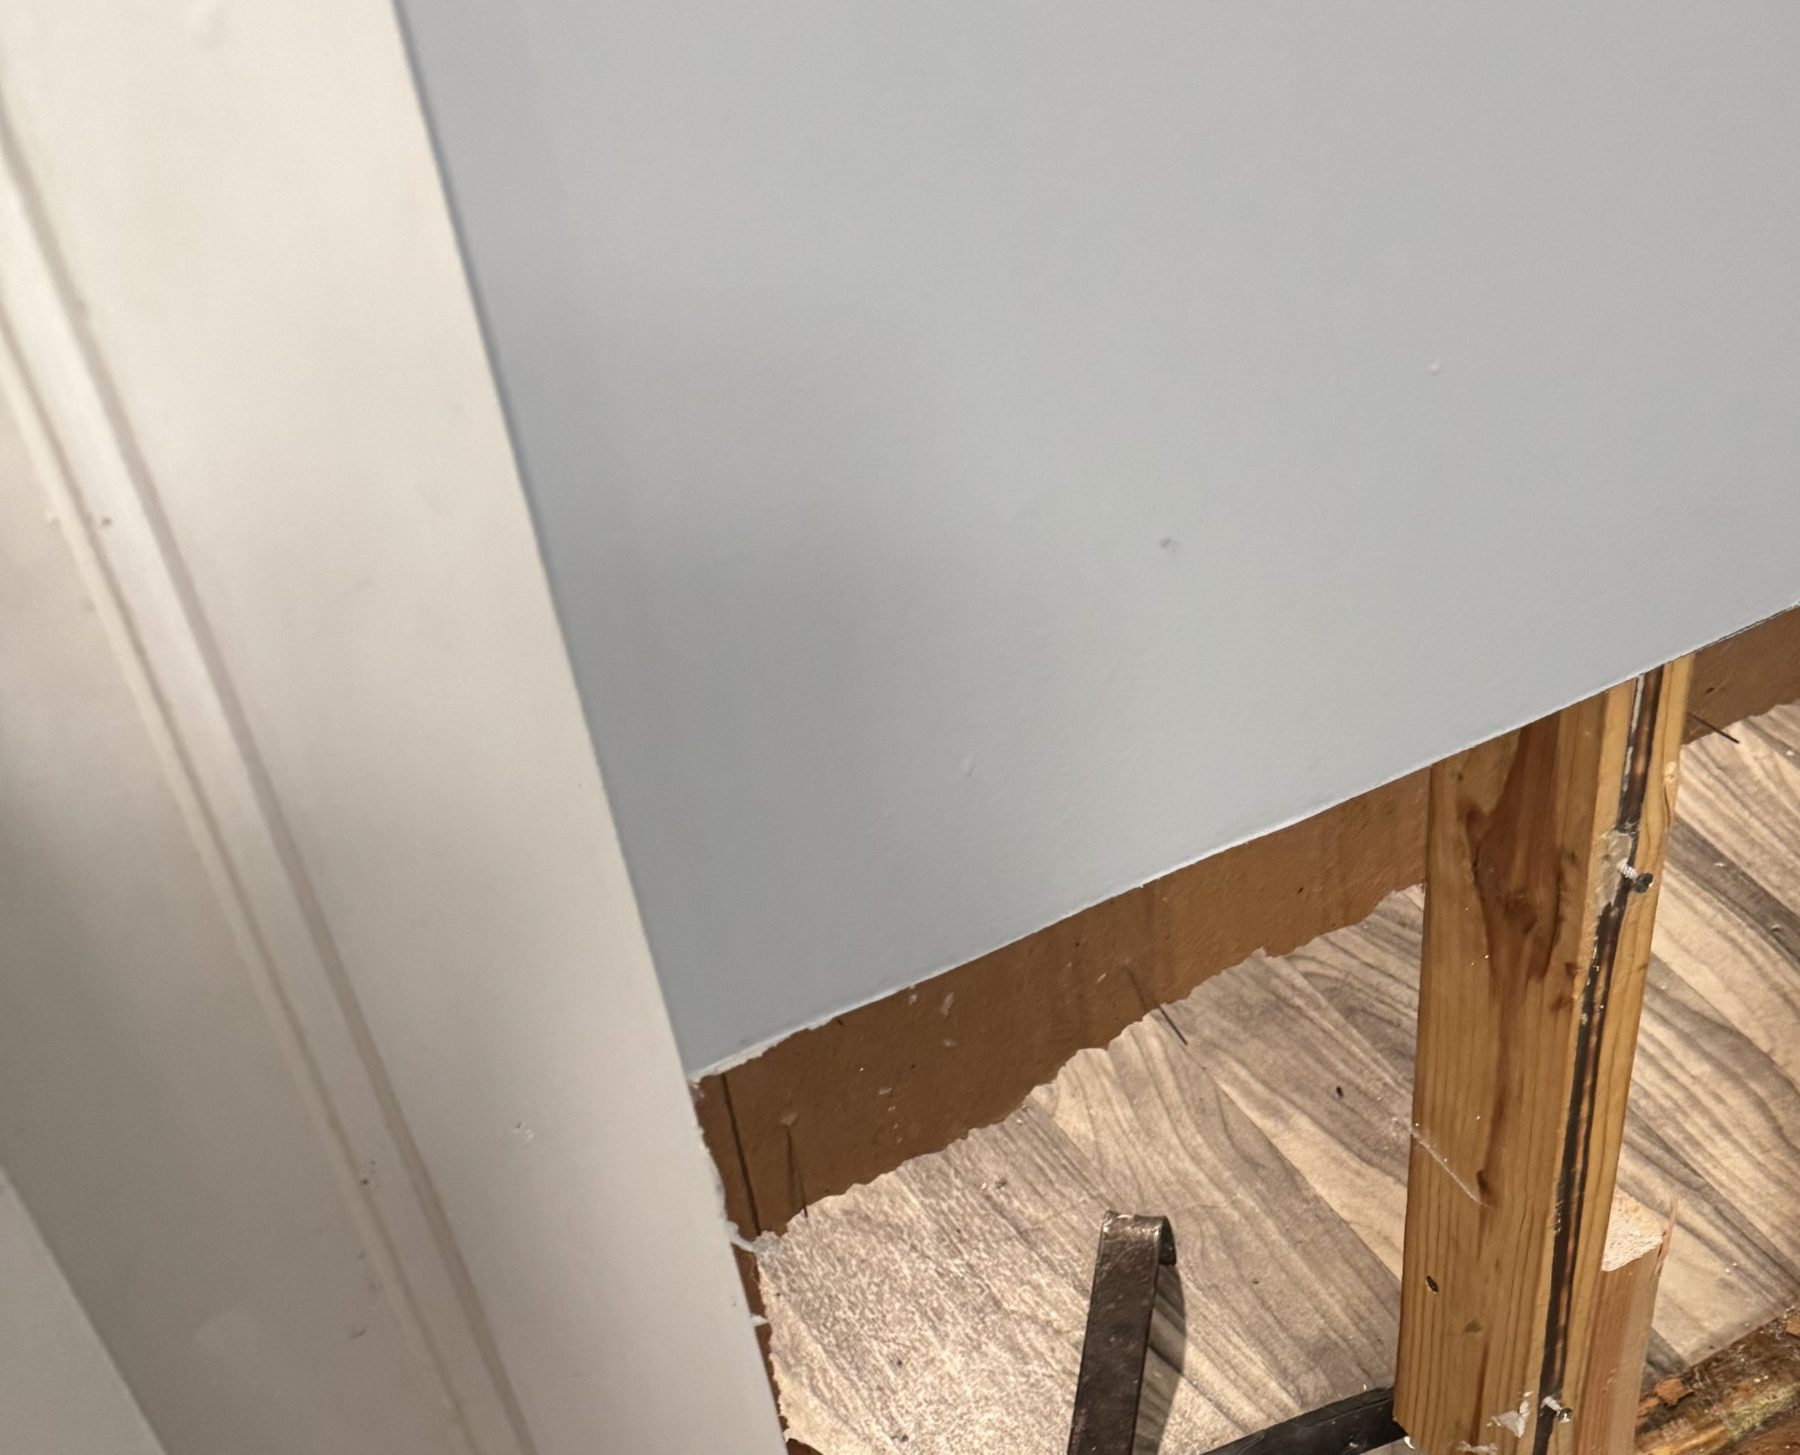
This October, the Safe Housing Collaborative held its conference in Austin, Texas, and I attended as part of my work on toxic housing cases. Speakers addressed remediation under negative air pressure and the instruments assessors now carry, from moisture meters and infrared cameras to sensors that record conditions over time. Those sessions prompted this article on how a sound mold job should proceed from start to finish.
A proper response follows a sequence that the industry has refined over three decades. It starts with finding and stopping the water before mold can grow. When mold has already taken hold, an independent assessor inspects and tests the home and writes a remediation protocol. A separate remediator performs the work under containment, and the assessor then returns to test again and confirm the home is clean.
Maryland Law Now Points to Industry Standards
The Maryland Tenant Mold Protection Act, Chapter 539 of the 2025 Laws of Maryland and codified at Real Property Article § 8-220, took effect on July 1, 2025. Once a tenant gives written notice of mold, the landlord must complete a mold assessment within 15 days. If the assessment finds mold, the landlord must remediate within 45 days, or within a reasonable time when the work cannot finish sooner.
The Act also requires the landlord to make sure the assessment and remediation follow industry practices and state and local law, and it obliges the landlord to keep occupants informed while the work proceeds. State agencies have yet to adopt uniform regulations for assessment, sampling, and remediation. Until they do, the published industry standards supply the measure of proper work.
The Standards That Govern the Work
Several respected bodies publish the guidance that assessors, remediators, and courts rely on. None of these documents carries the force of a statute, but each reflects a professional consensus about how careful practitioners proceed. Expert witnesses on both sides of a mold case routinely measure a landlord’s conduct against them. The principal sources follow.
ANSI/IICRC S520 Standard for Professional Mold Remediation, Fourth Edition (2024). The Institute of Inspection, Cleaning and Restoration Certification (IICRC) publishes this standard with the approval of the American National Standards Institute (ANSI). It sets out the procedures and precautions for mold remediation in homes, commercial buildings, and institutions, and the industry treats it as the standard of care.
ANSI/IICRC S500 Standard for Professional Water Damage Restoration. Because mold follows water, this companion standard governs how professionals dry a building after a leak or flood. Prompt, thorough drying prevents growth from taking hold in the first place.
Mold Remediation in Schools and Commercial Buildings. The United States Environmental Protection Agency (EPA) issued this guidance for larger buildings. Many assessors apply its containment and cleanup principles to apartment complexes.
A Brief Guide to Mold, Moisture, and Your Home. Maryland landlords may give tenants this EPA pamphlet under the new Act. It states plainly that the key to mold control is moisture control.
Guidelines for Indoor Air Quality: Dampness and Mould (2009). The World Health Organization (WHO) reviewed the research on damp buildings and named the prevention of persistent dampness and microbial growth as the most important way to avoid their health effects.
Recognition, Evaluation, and Control of Indoor Mold, Second Edition (2020). The American Industrial Hygiene Association (AIHA) publishes this reference, which industrial hygienists call the Green Book. It covers building evaluation, the interpretation of sampling data, and remediation.
ASTM D7338, Standard Guide for Assessment of Fungal Growth in Buildings. ASTM International updated this guide in 2026. It describes how an assessor gathers background information on a building, evaluates moisture, and inspects for suspect growth.
The First Response: Find the Water and Stop It Within 24 to 48 Hours
The most important step comes before any mold grows. When water enters a home through a roof leak, a burst pipe, a failed window, or an overflowing air conditioning drain, someone must look, trace the water to its source, and stop it. The EPA’s Brief Guide advises drying water-damaged areas and items within 24 to 48 hours to prevent mold growth.
The WHO reached the same point from the health side, treating the prevention of persistent dampness as the first line of protection for the people who live in a building. A landlord who answers a leak promptly, repairs its cause, and dries the wet materials within that window will seldom face a mold problem at all. Every later step in this article exists because that first response came too late or never came.
Step One: The Independent Assessment
When mold has already appeared, a proper job begins with an assessor who has no financial stake in the remediation. The assessor interviews the occupants, reviews the history of leaks and complaints, and walks the entire unit before taking a single sample. The visual inspection and moisture survey identify where the mold grows and, just as important, the water source that feeds it.
Testing follows. The assessor collects air samples indoors and outdoors so the laboratory can compare the two, and takes surface samples from suspect growth. A laboratory holding American Industrial Hygiene Association Environmental Microbiology Laboratory Accreditation Program (AIHA EMLAP) accreditation should analyze the samples, which travel under a signed chain of custody form.
The Tests, From Most to Least Important
Visual inspection and moisture survey. The assessor maps visible growth, staining, odor, and the moisture source that feeds the mold. Every credible assessment starts here, because mold follows water.
Air sampling (spore trap, non-viable). The assessor draws a measured volume of indoor air through a cassette and compares the spore counts and types with an outdoor control sample. This test shows what the occupants actually breathe.
Surface sampling (swab and tape lift). These samples confirm whether a stain is mold and identify the genus growing on the surface. Together with air sampling, surface samples form the core evidence in most mold injury cases.
Culturable (viable) sampling. The laboratory grows the sample to identify species such as Aspergillus fumigatus or Stachybotrys chartarum. Species identification matters when a physician ties symptoms to a particular organism.
Wall cavity air sampling. The assessor samples the air inside a wall through a small hole. This test reveals hidden growth behind finished surfaces.
Bulk sampling. The assessor removes a piece of drywall, carpet, or insulation for laboratory analysis. Bulk samples answer questions that surface samples cannot.
Environmental Relative Moldiness Index (ERMI) and Health Effects Roster of Type Specific Formers of Mycotoxins and Inflammagens (HERTSMI-2). These DNA-based tests use quantitative polymerase chain reaction (qPCR) to measure specific mold species in settled dust. Dust reflects exposure over months rather than a single afternoon.
Microbial volatile organic compound (MVOC) testing. This test detects gases that actively growing mold releases. A positive result can point to hidden growth even where air samples show few spores.
Mycotoxin testing. Laboratories can test dust or building materials for toxins such as trichothecenes and ochratoxin. The science on interpreting environmental mycotoxin levels remains unsettled, so this test ranks last.
Step Two: The Written Remediation Protocol
With results in hand, the assessor writes a remediation protocol, a document that tells the remediator exactly what to do. A sound protocol identifies each affected area, the materials to remove, the type of containment, the air filtration required, and the cleaning methods. It also names the water problem the landlord must correct and states the clearance criteria the job must meet.
The protocol protects everyone involved. The remediator knows the scope before bidding, the landlord knows what the job will cost, and the tenant gains a written yardstick for measuring the work. A protocol that says no more than “remediate mold per industry standard” gives no one useful guidance.
Step Three: Remediation Under Containment
The remediator, a different company from the assessor, carries out the protocol. Before touching any moldy material, the crew confirms that the landlord has corrected the water source, then seals the work area with plastic sheeting and places it under negative air pressure. Negative pressure draws air into the work zone through any gap, so spores stay inside rather than drifting through the home.
Inside containment, the crew removes the drywall, insulation, carpet, and other porous materials that mold has colonized, and bags the debris before carrying it out. Workers clean framing and other hard surfaces by vacuuming with high efficiency particulate air (HEPA) filtration, scrubbing, and wiping. Dehumidifiers and air movers dry the structure, and any antimicrobial or coating comes only after physical removal, never in place of it.
Remediation Tools
Containment. Polyethylene sheeting, zipper doors, and sealed vents isolate the work area. The barrier keeps disturbed spores from spreading through the rest of the home.
Negative air machines. These units pull air out of the containment through HEPA filters and exhaust it outdoors. They keep the work area at lower pressure than the rest of the house.
Pressure monitors. A digital manometer, ideally one that records continuously, measures the pressure difference across the barrier. Its record proves the containment actually stayed under negative pressure throughout the job.
HEPA air scrubbers. These machines recirculate and filter the air within the space. They capture spores released during removal.
HEPA vacuums. Ordinary vacuums blow fine spores back into the air. HEPA units capture them during cleanup.
Dehumidifiers and air movers. Low grain refrigerant and desiccant dehumidifiers, paired with fans, dry structural materials. They bring moisture below the levels that support growth.
Blasting equipment. Dry ice and soda blasting strip mold from framing and attic sheathing. Both methods clean the wood without soaking it.
Personal protective equipment. Workers wear respirators with P100 filters, disposable coveralls, gloves, and eye protection. The equipment protects the crew from the heavy exposure that removal creates.
Antimicrobials and encapsulants. Contractors may apply these to surfaces after cleaning. The standards treat them as a supplement to physical removal, never a substitute.
Step Four: Post-Remediation Verification and Retesting
The job does not end when the crew packs up. The independent assessor returns while the containment remains in place and conducts post-remediation verification. The assessor inspects for visible mold and odor, takes moisture readings to confirm the materials have dried, and repeats air and surface sampling against an outdoor control.
If the results pass, the remediator takes down the containment and rebuilding can begin. If they fail, the crew cleans again and the assessor retests until the area meets the clearance criteria in the protocol. The IICRC standard expects an assessor who lacks independence from the remediator to disclose that conflict to the client in writing, which shows the weight the industry places on an impartial final check.
The Assessor’s Tools, From Most to Least Important
Moisture meters (pin and pinless). These measure the water content of drywall, wood, and flooring. They locate the source that sustains growth.
Thermal (infrared) imaging camera. The camera shows temperature differences that point to wet areas behind walls and ceilings. It finds them without opening a single surface.
Hygrometer and data loggers. These record relative humidity and temperature. A logger left in place documents conditions over days or weeks.
Air sampling pump with spore trap cassettes. The assessor calibrates the pump to a known flow rate. The calibration lets the laboratory report spores per cubic meter of air.
Swab, tape lift, and bulk sampling kits. These collect surface and material samples. The assessor ships them under chain of custody.
Dust collection equipment. A vacuum fitted with a filter cassette gathers settled dust. ERMI and HERTSMI-2 testing require it.
Borescope. This small camera on a flexible probe looks inside wall cavities, ductwork, and crawlspaces. It needs only a small opening.
Particle counter. This instrument measures airborne particle levels room by room and helps locate a source. It cannot identify mold by itself.
Manometer and smoke pencil. These measure pressure differences and show air movement. They explain how spores travel from a crawlspace or wall cavity into living space.
Camera and documentation equipment. Dated photographs of every sample location tie the laboratory results to the conditions in the home. Good documentation makes the report usable in court.
Other Instruments in the Field
Continuous environmental sensors. Wireless monitors left in the home record humidity, temperature, and sometimes particulates around the clock. They create a dated record of conditions that a single visit cannot.
Dew point calculation. From temperature and humidity readings, the assessor calculates where condensation will form. Cold exterior walls, windows, and ductwork are the usual suspects.
Adenosine triphosphate (ATP) meter. This handheld device measures biological residue on a surface within seconds. It offers a quick screen for contamination and cleaning effectiveness.
Blower door test. A fan mounted in an exterior door depressurizes the house to reveal air leaks. The test helps explain how humid outdoor or crawlspace air reaches the walls.
Duct inspection camera. A camera on a long cable shows growth and debris inside heating, ventilation, and air conditioning (HVAC) ducts. Ductwork often hides a reservoir of contamination.
Mold detection dogs. Trained dogs can alert to hidden growth. Their findings need laboratory confirmation before anyone relies on them.
Why the Sequence Matters to a Tenant
Each step leaves a paper trail: the tenant’s first report of the leak, the assessment report with laboratory results, the written protocol, the remediator’s records, and the clearance report. Those documents show whether the landlord responded within the 24 to 48 hour window, met the Act’s deadlines, and followed industry practice. They also give a physician a documented record of the exposure when a tenant’s health is in question.
Tenants who report a leak or mold should do so in writing, keep a copy, and keep photographs and a dated list of every complaint. If new symptoms develop after exposure to mold or water-damaged building materials, including exposure you did not realize at the time, you should see a doctor. A tenant who doubts the landlord’s response can arrange independent testing before or after the landlord’s work, and those results often carry great weight later.